Touch ID accompanied the iPhones, yet presently we can discover them even on MacBook Pro and MacBook Air models in-built in the keyboard. Despite the fact that it has been a couple of years since the presentation of Touch ID in MacBook, as another user it may get a troublesome setup. Along these lines, here is a guide on the most proficient method to utilize Touch ID on MacBook Air or MacBook Pro.
What you will see here?
Mechanism of Touch ID
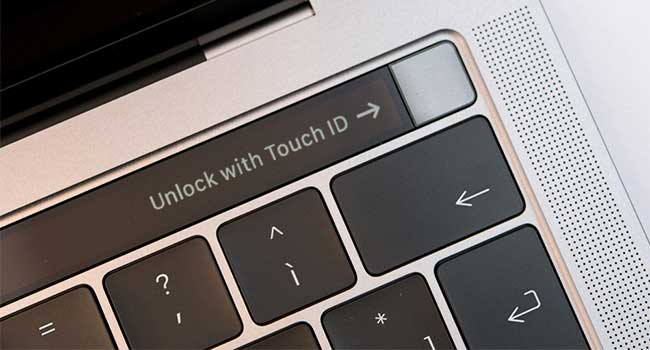
Touch ID on MacBook is the fingerprint identity sensor from Apple. With biometric security, it turns out to be more helpful than entering a passcode or password, particularly on iPhones and iPads, which we utilize various times each day. On the MacBook Air or MacBook Pro, you can enlist up to five fingerprints, with a limit of three fingerprints for each user account. From that point forward, you’ll have the option to do the following:
- Wake and log in to your user account from the rest. You’ll need to sign in with your password on the primary boot.
- Switch between users to wake your device, if that they each have separate fingerprints saved
- Use Apple Pay on the Mac
- Approve buys from the iTunes, iOS App Store, or Mac App Store
Set up and manage Touch ID
To set up Touch ID, you’ll be approached to register a fingerprint as a component of the setup process. In spite of the fact that you can register extra fingerprints whenever. You can have up to three fingerprints for every user account on your Mac, with an aggregate of five across accounts. These fingerprints are encrypted and put away offline in the MacBook Air or MacBook Pro’s Secure Enclave.
Adding your fingerprint
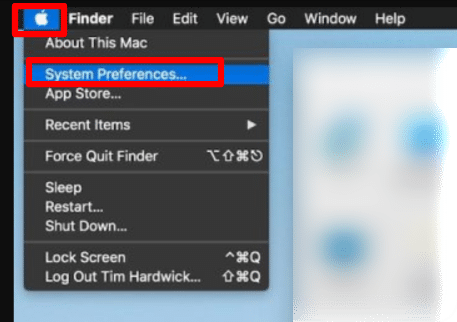
- In the Apple menu, select System Preferences starting from the drop menu.
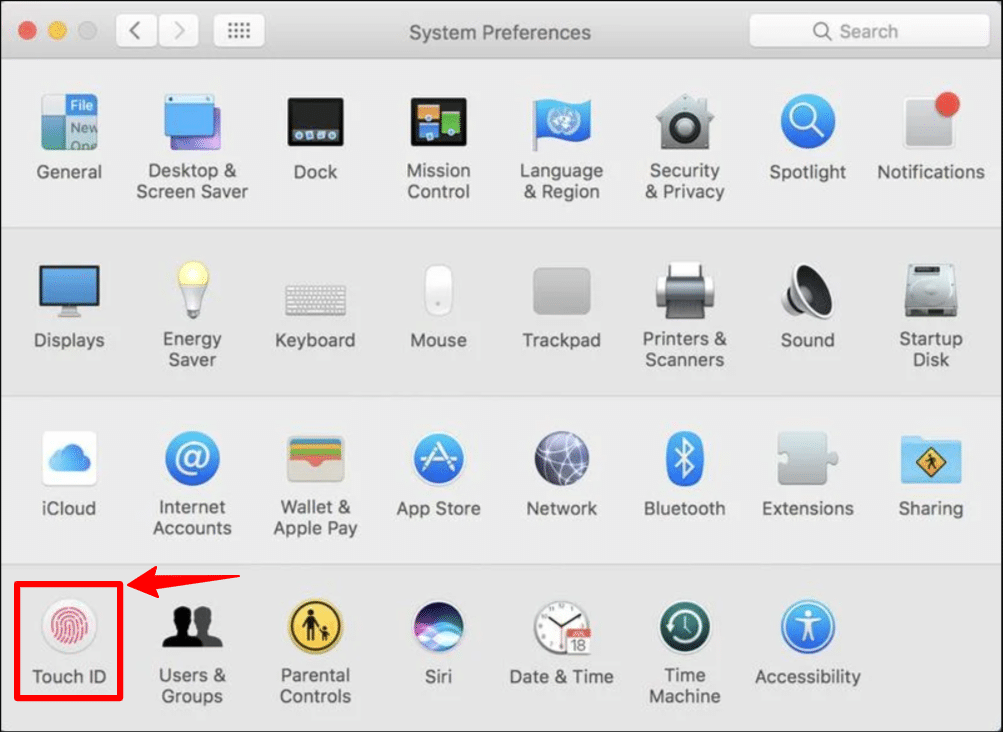
- From the System Preferences tab select the Touch ID preference pane.
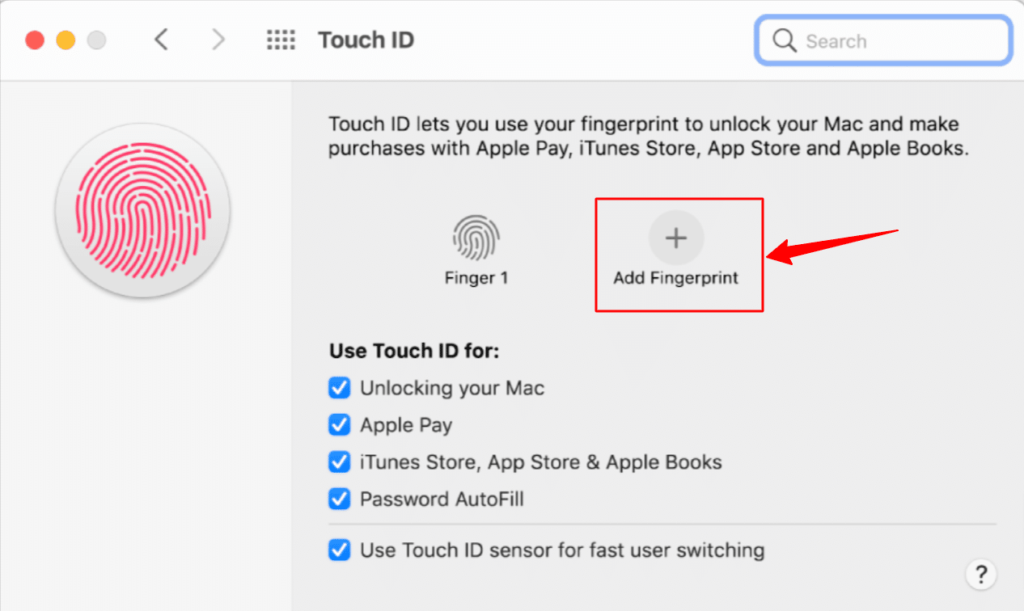
- From the Touch, ID tab click on Add a fingerprint.
- Enter your user password.
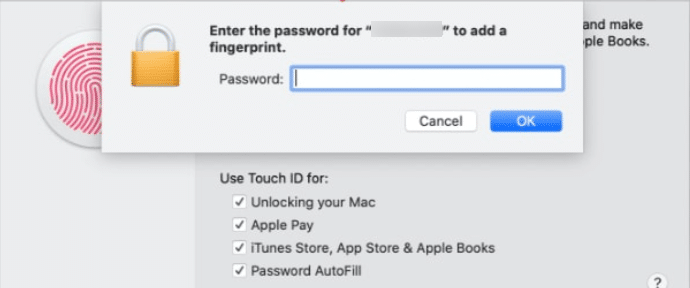
By adhering to the guidelines to register your fingerprint, presently you need to lay your finger on the Touch ID sensor over and again until the registration is finished.
Naming fingerprint
- In the Apple menu ,select System Preferences starting from the drop menu.
- From the System Preferences tab, click the Touch ID preference sheet.
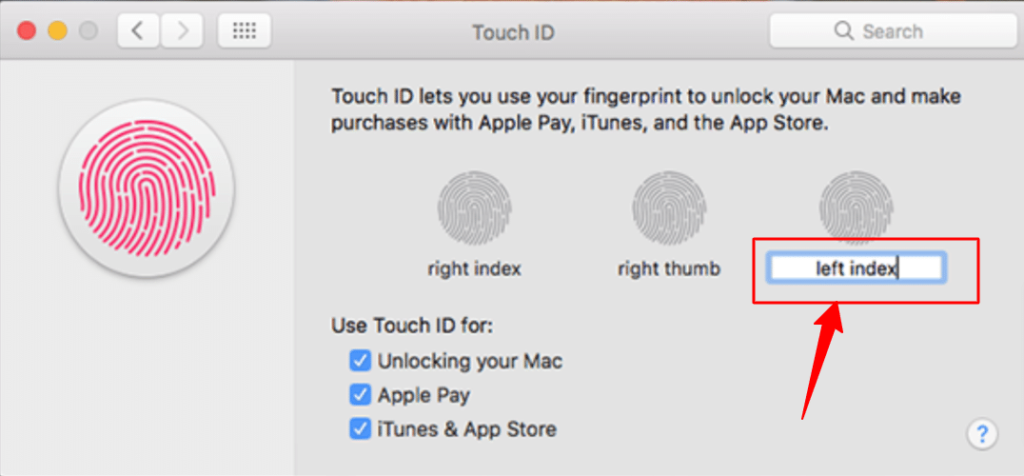
- To spin through each fingerprint alternative press the Tab key, or snap straightforwardly on the name of the fingerprint.
- Rename your ideal fingerprint.
- Select the Return key.
Delete a fingerprint
- In the Apple menu , choose System Preferences from the drop menu.
- From the System Preferences tab, hit the Touch ID preference pane.
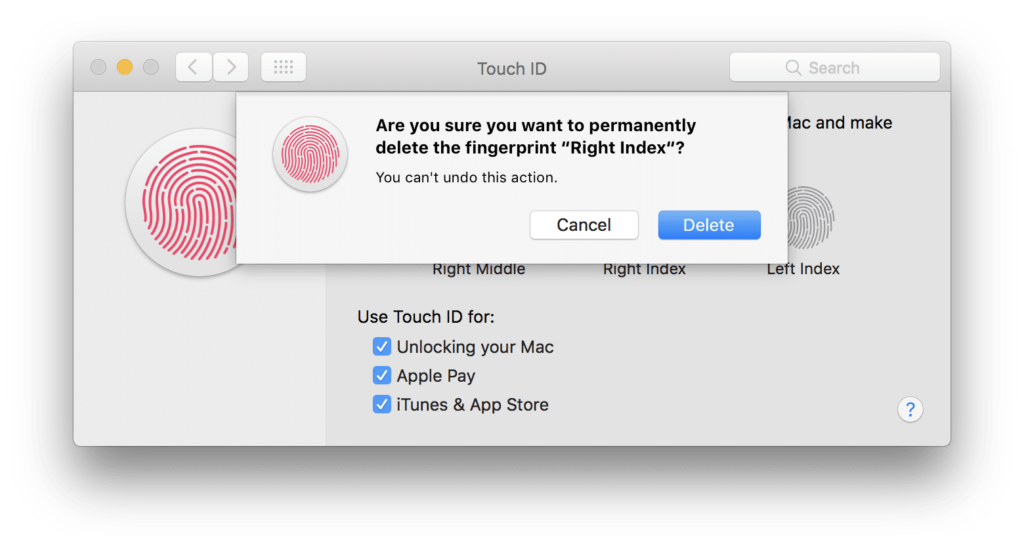
- Float over the fingerprint symbol you wish to delete until you see the X on the upper left corner, then, at that point click on it.
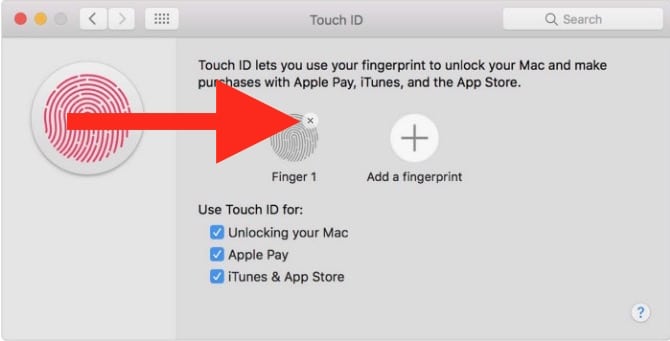
- Type password.
- Hit Delete to affirm.
Change Touch ID settings
You can pick what you’d prefer to utilize those fingerprints to approve, after you’ve set up your fingerprints. Albeit, every one of the three choices are checked naturally, you can physically change this by unchecking the case close to every choice.
- From the Apple menu , choose System Preferences from the drop menu.
- From the System Preferences tab , hit the Touch ID preference sheet .
- Check or uncheck the alternatives you like.
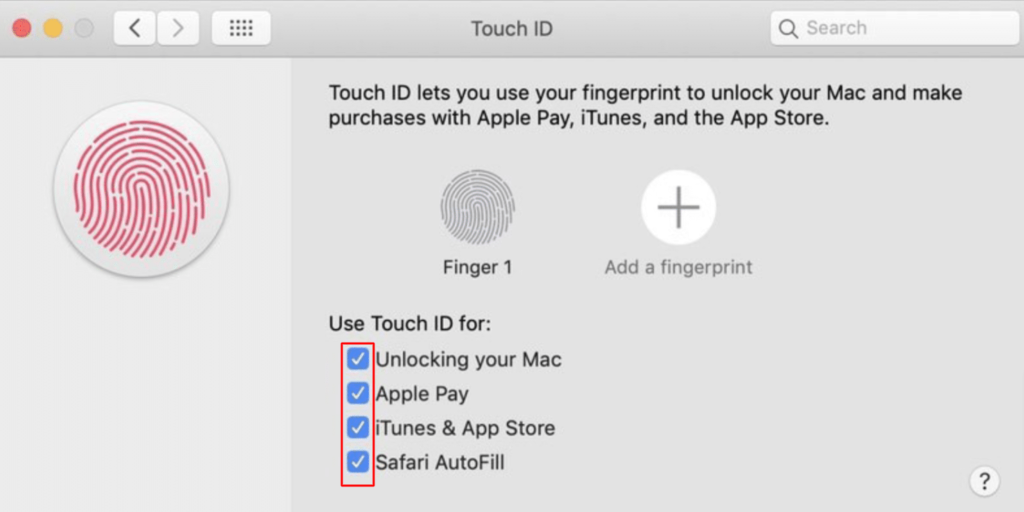
“Use Touch ID for” alternatives include:
- Unlocking your Mac
- Apple Pay
- iTunes & App Store
- Safari AutoFill
Using Touch ID
Touch ID on Mac works equivalent to on the iPhone and iPad. At the point when you first boot up your Mac, you need to utilize your password when you log in. Although, after that first login, you can utilize Touch ID at whatever point waking your Mac from sleep, switching users, authorizing store purchases, or by means of Apple Pay.
Log in with Touch ID
- Unlock your shut MacBook Air or MacBook Pro or press the Touch ID button.
- Place your finger on the Touch ID sensor.
Switch users
You can enrol various fingerprints for various user accounts on your MacBook Air or MacBook Pro. When each account has been logged in once after the initial boot, you can quickly get back to that account by using the Touch ID sensor.
- Unlock your shut MacBook or press the Touch ID button.
- Place your finger on the Touch ID sensor.
Authorize App Store and iTunes purchases!
The MacBook Air and MacBook Pro with Touch Bar support Touch ID approval of both App Store and iTunes purchases. Yet, prior to starting this, you need to set it up.
Touch ID with Apple Pay
Apple Pay allows you to approve payments made on your Mac through the Touch ID sensor on your MacBook, iPhone, or by means of the Apple Watch. No more need to entering your credit card information into each website that needs it.
Rebooting MacBook Air or MacBook Pro
In spite of the fact that Touch ID has supplanted the old power button on the MacBook Air and MacBook Pro, it can fill a similar need now and again. Assuming you need to power on your Mac, you can basically press the Touch ID button. Likewise, when you need to reset your MacBook Air or MacBook Pro, you can press the Touch ID button. That can prove to be useful if the display won’t show what’s on-screen or then again if the keyboard or cursor is frozen, or then again if the whole system becomes non-responsive.
- Surpress the Touch ID button.
- Continue to hold it until you see the bootup screen.
Conclusion
With the all-new element of Touch ID on the MacBook Air or MacBook Pro, you don’t have to include your password each time you power on your Mac. Not just Apple Pay allows you to authorize payments made on your Mac through the Touch ID sensor. So no seriously entering your card details on each website you open. To set up and deal with your Touch ID you should enter a fingerprint, despite the fact that you can add more fingerprints whenever you need. You are allowed to add three fingerprints for every user account on your Mac, with an aggregate of five across accounts.