


Google’s recent policy change to Google Drive for desktop has left many users frustrated. The new policy restricts Drive from automatically uploading images to the Photos library, a feature that users found beneficial. Google has decided to discontinue this integration, prompting many Drive for desktop users to adopt a new strategy since the automated integration is no longer functional. Additionally, the limited free storage capacity offered by Google was not meeting my needs.
As a result, I decided to switch to Immich, a Google Photos replacement that allows me to store and serve my photos and videos locally. While this project may seem complex, it only requires an average computer with 4GB or more of memory. Let’s delve into how I built this server and configured my Windows PC to sync images to it.
Choosing the Right System
Underpowered Hardware Won’t Work
While building home servers on low-end systems can be exciting, Immich is not suitable for most entry-level hardware. Raspberry Pi Zero 2 W, with only 512MB of memory, and even 1GB memory configuration SBCs like the Raspberry Pi 4 Model B cannot fully support all of Immich’s features.
I opted for an HP t620 thin client, equipping it with a used 8GB DDR3 memory stick and a new 128GB M.2 SATA SSD. This setup offers fast storage for a home server, and I chose to deploy DietPi because it feels more freeing than Ubuntu Server. DietPi’s memory efficiency is crucial, as the non-desktop version requires about 250MB of memory to run all necessary processes and services.
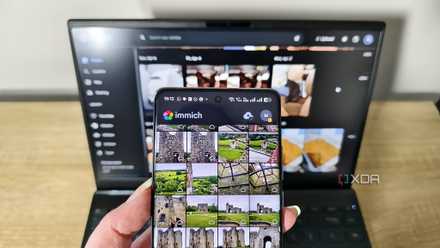
Despite the thin client’s older and slower quad-core processor, it runs Immich smoothly due to its ample memory, and this setup cost me just about $50. Even SBCs with a 4GB memory configuration, like the Raspberry Pi 5, can run Immich and all its features without stuttering. The next step was deploying the stack, which includes the image server and other essential components.
Using Docker for Immich Stack
Easy to Maintain
I prefer using Docker for every server I build, as it simplifies both management and cleanup. Even my Raspberry Pi Zero 2W server operates using Docker, and I recommend others do the same. I created the necessary directories, adjusted the compose file to my requirements, and deployed the Immich container. The web portal was live, and I needed to supply the required folders to it.
Uploading images to the Immich server is straightforward. You can use the upload button, browse directories, select items, and click OK. The Immich server stores these images and performs background tasks like OCR, metadata building, and thumbnail generation. This setup ensures you have a second copy of your images on your Windows PC, stored and organized on a home server.
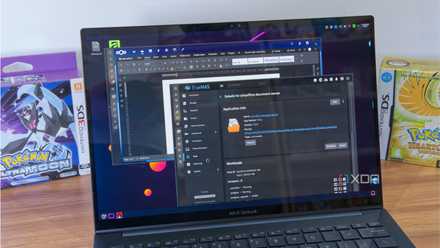
Accessing images from the Immich server is simple: just enter the host’s URL and port number. All devices on your home network, including smartphones, can connect to it. The Immich phone app offers a better experience compared to the web browser UI. However, there is a challenge: you need to manually upload new images to the server every time you have them.
This task feels tedious and requires consciously uploading new images from preferred folders to the server. Ideally, the process should automatically upload all new files to the server in one direction. There are two solutions to this issue, both effective for syncing folders to the server.
Configuring Automatic Folder Sync
Managing Server Availability
The first method uses Immich’s CLI tool to enable uploads and sync for a specific folder. Immich supports API keys, so I generated a new key with the necessary privileges for the user. The next step is to run a simple login command to connect to the server using the API key:
immich login http://serverIP:2283/api YOUR_API_KEY
I tested this with a small folder, and the uploads and sync worked correctly. A caveat is that you need to create a Task Scheduler task for a complete sync experience.
immich upload --recursive --watch "PATH"
The watch flag continuously checks for new files, requiring an open PowerShell window. Creating a task that runs after logging in simplifies the process without needing to open a PowerShell window each time.
There’s also a community-maintained app for Immich desktop sync. This app is simple and requires only your server IP and API key to manage uploads. You can configure it to start at boot, allowing it to sync new folder items to the server. While the app is a simpler option for setting up folder sync, I need to test it further to build trust in its reliability.
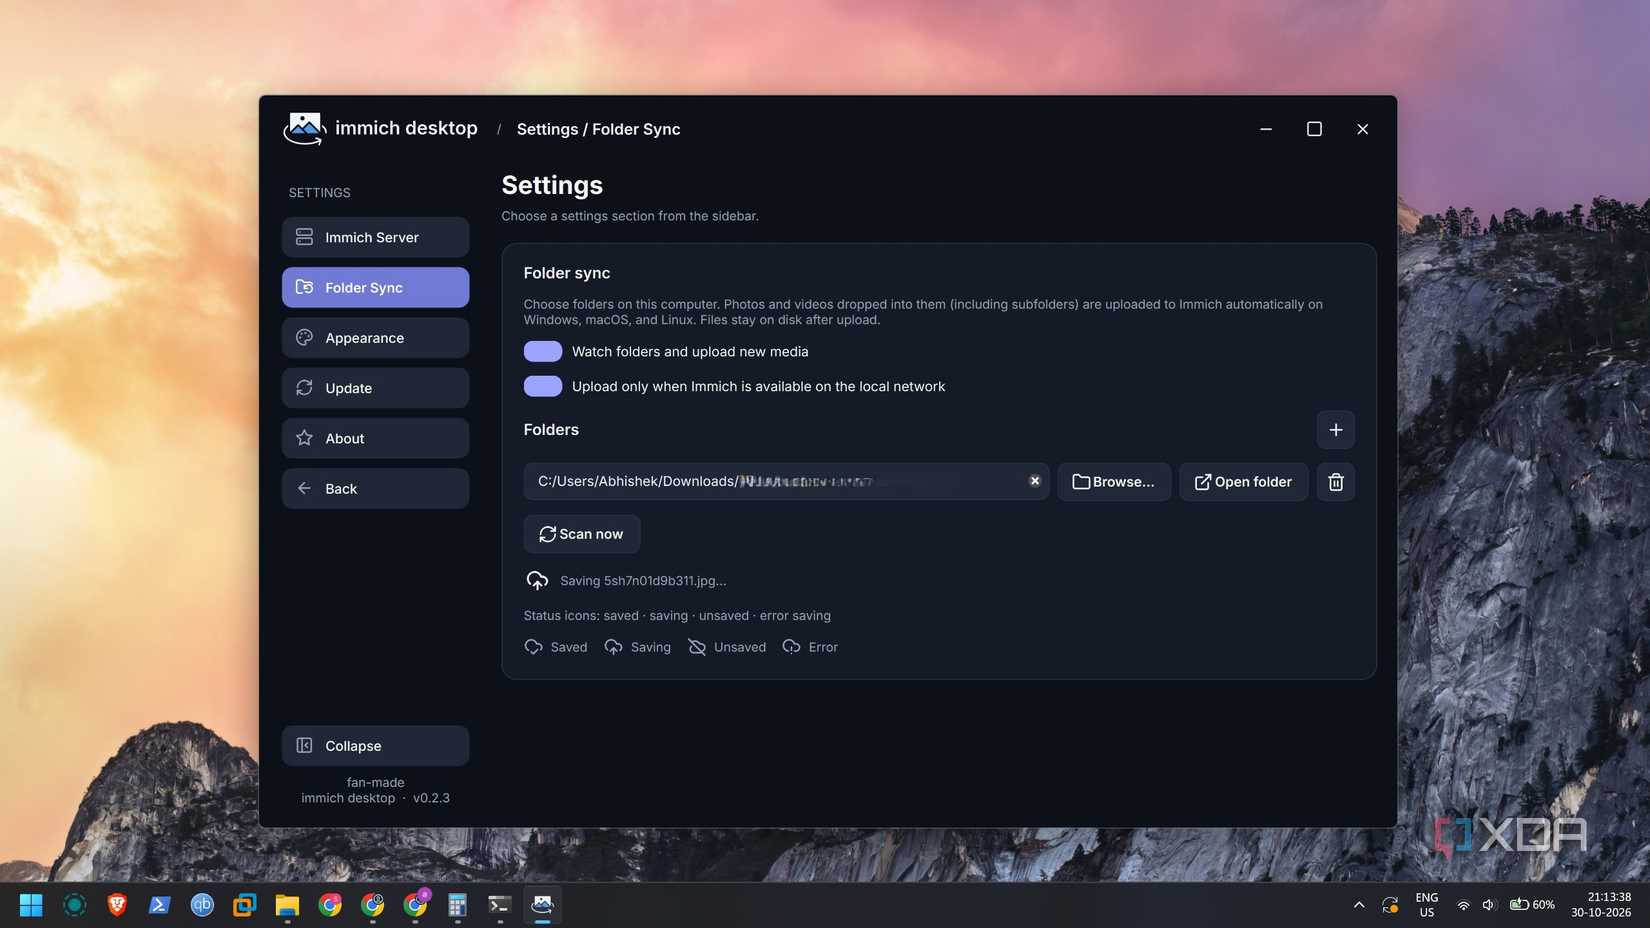
Thus, the local image server required some post-deployment adjustments to achieve a folder upload and sync experience comparable to Google Drive. I’m satisfied with my small home server setup, which only syncs my work screenshots, downloads, and a family image folder.
Ditch Google’s Ecosystem
My one-way photo backup server is a cost-effective, more private alternative to paid cloud storage services. The thin client stores images from my designated folders while retaining the original copy on my Windows PC. My phone follows the same process, and for uninterrupted access, I’ve connected the thin client and router to a home inverter outlet. They remain operational during power outages, and Tailscale enables me to access the library even when I’m outside the home network.
This approach allows me to break free from Google’s ecosystem, offering a personalized, secure, and efficient solution for managing my digital media.
Here
“`
