Screenshots have existed for nearly as long as computers have. The earliest screenshots are considered to have been captured about 1960, and screen capture has become a more important tool in recent years. They could be used for a number of things, including archiving crucial documents, exchanging images with friends, and giving remote technical help. In Windows 10, there are several built-in tools for taking screenshots, most of which also function in Windows 7 & Windows 8.
What you will see here?
Print Screen: Prt src key +fn /Ctrl +P
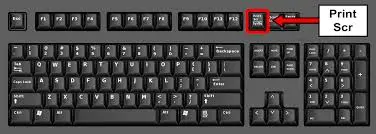
The easiest and quickest way to take a screenshot is to use the Print Screen key, but it’s also the least handy. Because the screenshot isn’t saved but instead copy to the system clipboard, it is pasted into a graphics application or word processor once it captures.
Because the system only remembers one shot, if you don’t correct the image right away, hitting Print Screen will again create a new one. When you really need to shoot a succession of photos, this will be inconvenient. Alternatively, programs like Clipboard Master can use to enhance the system.
Alt + Print Screen
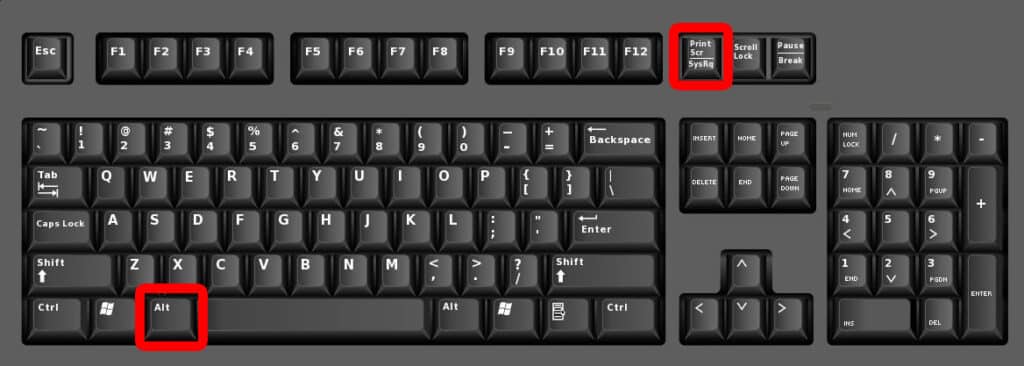
This method works similarly to the Print Screen button and only saves the current window. If you have numerous folders open on your desktop, using the Alt & Print Screen keys at the same time will save the image without the clutter in the background.
Windows + Print Screen
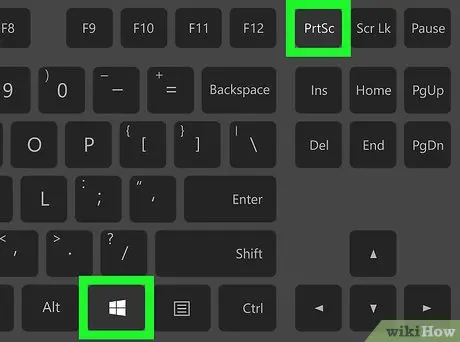
Windows + Print Screen is the next key combination. When you utilize it, the screen should turn off for a minute. The visuals (.png format) are saved in the Screenshots folder, which is the default location for images. When you’re using a keystroke combination for the first time, this folder is generated automatically.
Windows + H
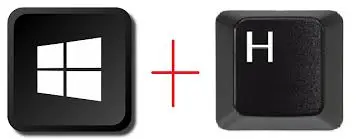
Press the Windows & H keys at the same time to snap a full screenshot plus send it to an internet service like email or social media. A list of destinations to which you may send the produced image can be seen on the right side. Of course, what you see here is determined by the programs you have installed on a computer.
Windows + Shift + S
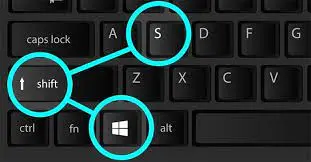
The use of the Snipping Tool is being phased out in favour of the Windows Key + Shift + S shortcut. When you press those three keys, a basic menu appears, enabling you to select between rectangle, freeform, window, and full-screen snips. The snapshot will copy to the clipboard, and a request to save those to your hard drive will appear.
Snipping Tool
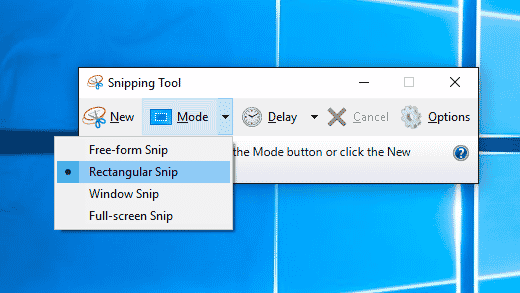
If you want to keep using Snipping Tool, it is still accessible. In addition to the factors listed above, you can select a screenshot delay of up to 5 seconds. This is ideal for capturing a certain moment that might otherwise be impossible to record. The recording formats available are.png,.html,.jpeg, and.gif.
Windows + Mute button
Screenshots capture on Windows 10 smartphones in the same way they are on other operating systems’ smartphones and tablets. While hitting the mute button, hold the Windows logo key. When you click the Windows + Print Screen buttons on your computer or laptop, the screen fades out for a little while stored before in the default picture folder.
Third-party applications
The final option is to utilize one of the many third-party screenshot programs available. Screenshot Captor and SnapDraw are examples of specialized programs, as are browser extensions like Fireshot and Nimbus.
Snagit is our favorite since it has a lot of options for annotating and marking up screenshots. It’s free for 14 days, then after there’s a £48.43 one-time cost.
However, because there are so many options, it’s worth experimenting with a couple to see what works best for you.
If interested in learning how to snap a screenshot while scrolling on Windows 10.
Conclusion
If you need to take screenshots on a regular basis. There’s no better way to demonstrate to readers how software works than to show it in action. Because you generally evaluate Windows products, you’re familiar with the many screen capture options available. Almost every computer user has to capture a screenshot at some point if only to communicate what they’re seeing on-screen with both a colleague or a third party.
It’s amazing how long takes it to develop such a simple skill. Since the first PCs in the 1980s, Windows has featured screen-printing capabilities (albeit its text-based option differs from today’s raster screenshots). Snip & Sketch in Windows 10 provided new methods to take screenshots, and the Snipping Tool in Windows 10 makes screenshots even smarter. How to Take Screenshots in Windows 10 to learn more about the methods on Microsoft’s latest operating system.
Read more:
- How to take screenshots on Android phones?
- How to Take Screenshots on iPhone in different ways on different models?
- Screenshots-How to use and take screenshots on iPhone, iPad, Apple Watch, Apple TV,MAC?
- Download apps on your Apple TV!
- Instant Markup -How you can instantly edit your screenshots?


