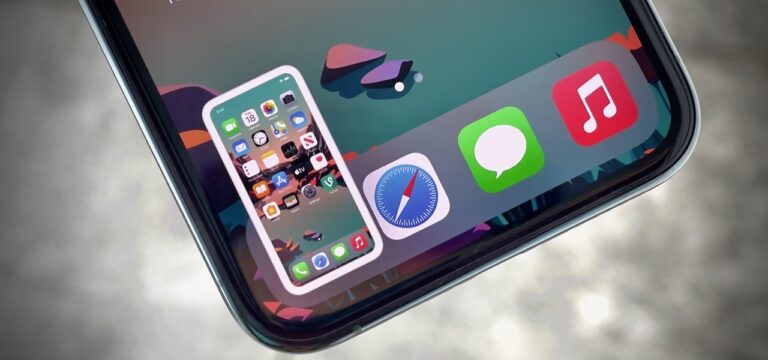
Looking for a way to take screenshots on your iPhone? Screenshots are very useful for capturing short-lived media and text, such as PowerPoint presentations. Most importantly, it also helps to share important information with friends and family before deleting it. For example, live results, discussions, etc
Taking screenshots is actually very easy. Just press the right button and the volume up button. However, it depends on the model. This method works on iPhone X via the latest iPhone 12, but not on iPhone 8 and earlier versions. For more information, see our guide on how to take screenshots on your iPhone.
What We Will See Here?
Use a one-button alternative To Screenshot on iPhone
The one-button alternative is a complete alternative to the “Home + Sleep” option for taking screenshots. All you have to do is go to the general settings and enable the accessibility option to create a floating button on your screen that basically takes a screenshot with just a tap of your finger. Many third-party app platforms now offer similar functionality.
However, we recommend that you use the device’s built-in features rather than downloading apps that can read data and increase storage capacity. In addition, this floating button can be moved across the screen as needed.
What is really original is that it disappears when not in use. However, it is not completely gone in case it is needed. Most importantly, this method is also useful if the sleep button is broken or inaccessible due to the iPhone case.
Use the screenshot app
The Apple Store has many screenshot apps that make it easy to take screenshots. In addition, these apps have many integrations or features that make sharing and editing much easier. Therefore, if your task requires a lot of screenshots, it is recommended to get the screenshots app.
For example, web capture is a popular screenshot app for iPhone and iPhone. However, it specializes in taking screenshots of websites and has a simple user interface / UX.
All you have to do is open the app, which opens as a browser to enter the URL of the website you want to take a screenshot of. As you type, the screenshot will be taken automatically and sent to your camera roll. No editing or trimming is required. The best part is that there are no toolbars or complex menus.
Similarly, you can find more screenshot apps that are common and appear as bars on the screen, as well as very task-oriented screenshot apps like WebCapture.
Touch the Picture -It will save the image
Technically this is not a screenshot, but it does help you save or download individual images on a particular page. Screenshots that capture everything on the screen allow you to select images to save this way.
Simply touch a photo or item and press and hold until you see a pop-up with various options. If you want to download the file to your iPhone, select the Save Image option. You can also email it to someone. All you have to do is select a copy and attach it to your email. This saves space because it does not download the option to your device.
Take a screenshot with Siri
If your fingers are tired or you don’t want to press the button manually, you can always tell Siri. As a voice assistant, Siri has the ability to take screenshots.
All you have to do is manually navigate the screen to the page you want to take a screenshot of first. Then just tell Siri, “Hey Siri, take a screenshot.” And boom, you can find photos on your camera roll.
Take a screenshot on iPhone X or later-Without Home button
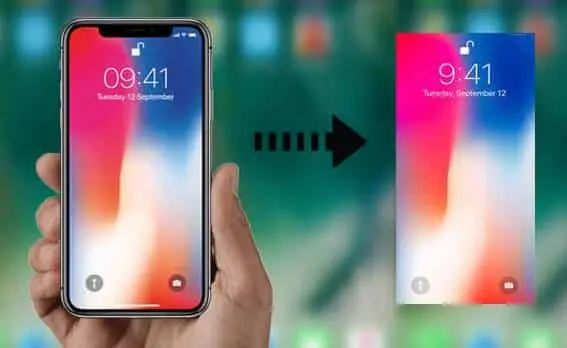
When Apple incorporated Face ID into the iPhone, it became inherently difficult to take screenshots with the home button. Especially because Apple has removed it from iPhone X and later. But they left the way. All you have to do is:
- Select the screen you want to record or open the app you want to record
- Next, make sure everything you need is in the frame and set it accordingly.
- Simply press the power right button and the volume up button at the same time.
- The screen turns white and you can hear the camera shutter sound.
- If this is successful, you will see a screenshot in the Camera Roles section of your iPhone.
Take screenshots on iPhone 8 and earlier- With Home button!
- Select the app or screen to record
- Next, make sure everything you need is in the frame and set it accordingly.
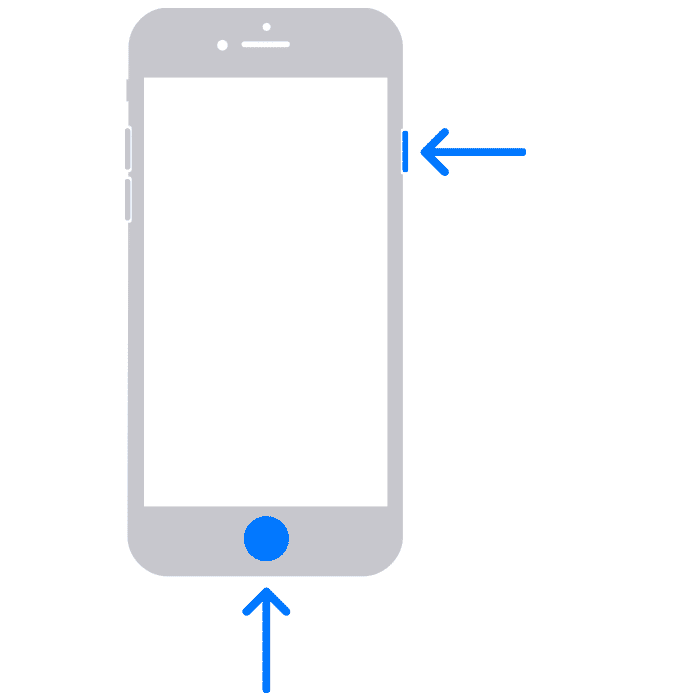
- Then press and hold the power button on the right and the home button at the bottom of the screen at the same time.
- For Touch ID iPhone, it may take several times.
- However, if successful, the screen will turn white and you will hear the camera shutter sound.
Now that this iPhone is pretty old, you can still use the older version of iOS. If you have iOS 10 or earlier, screenshots are saved to the All Photos folder. Depending on whether you use iCloud Photo Library or not, there may also be a Camera Roll section.
View and Edit screenshots
After you take a screenshot, you will want to view, share, or edit it.
- Start by going to the Photos app. All screenshots are automatically saved here.
- When you open the app from the home screen, you can find your screenshots in a dedicated screenshots folder in the album.
- Open the Photos app from your home screen.
- Now all you need to do is select a screenshot to view, share or edit.
Conclusion
Obviously, there are many ways to take screenshots on iPhone. If you only need to take screenshots once in a while, you can use the physical buttons on your iPhone. Finally, there are apps you can install like Web Capture for a simpler, more feature-rich method of taking iPhone screenshots. That’s all we hope we help you regarding this topic.
Read More!
- Screenshots-How to use and take screenshots on iPhone, iPad, Apple Watch, Apple TV, MAC?
- Download apps on your Apple TV!
- Instant Markup -How you can instantly edit your screenshots?
- How to set up, secure, and start using Siri on your iPhone and iPad?
- Managing iCloud storage on iPhone and iPad isn’t tough anymore!


