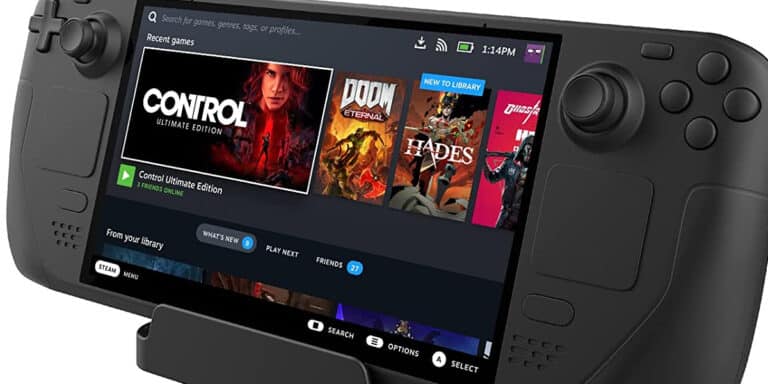
You don’t know how to set up your new steam deck now that you have a brand-new equipment. What ought you to do? Use the suggestions below to make the most of the system. From its humble origins, Valve’s Steam platform has quietly developed into one of the biggest online gaming marketplaces. Due to its accessibility, the platform has enabled a number of notable advancements in a variety of game genres.
The Steam Machine, Valve’s first attempt at a platform based on Steam, was unsuccessful. That victory hasn’t necessarily translated to the console market, either. However, Valve continues to attempt. The Steam Deck, their most current design, promises to bring the thrill of PC gaming to a portable device, and its useful physical size is simply amazing.
If you’ve been able to obtain one, there are a number of things you’ll need to do when it begins.
However, the biggest challenge will be how to initially set up the Steam Deck. The Steam Deck is more comparable to the best gaming laptops or PCs than the majority of other Nintendo or even earlier Sony handhelds. You must prepare it for gaming because of its OS’s more amazing potential to be tweaked.
What Will You See Here?
What is Steam Deck?
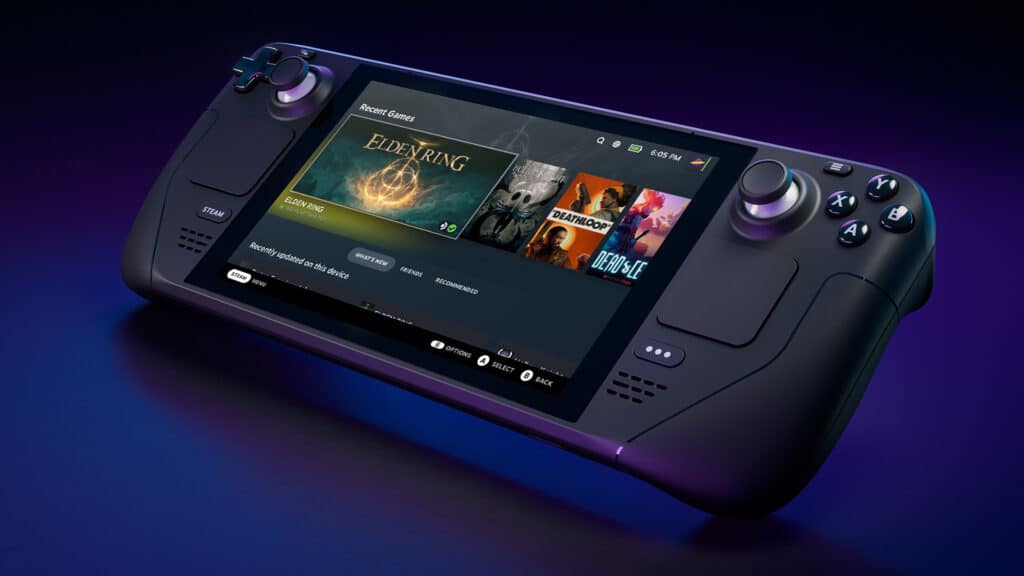
The greatest portable gaming system that combines parts of the Nintendo Switch and gaming PC is the Steam Deck. Despite looking like a console, it is as open as a PC and lets you connect it to a monitor or TV, attach controllers, a keyboard, and a mouse, and, if you’d want, install Windows on top of its Linux core. However, the unique features of the Steam Deck enable a more streamlined console-like experience.
The latest version of SteamOS, Valve’s Linux-based operating system, will be able to play games made for Windows without any problems thanks to a compatibility solution dubbed Proton. The computer can also pause and resume games and supports snazzy new AMD graphics technology like FidelityFX Super Resolution upscaling.
Because Valve provided the specifications along with the Steam Deck, users are fully aware of what is concealed beneath the device’s 7-inch screen. There haven’t been any other instances of an AMD APU being used like the Steam Deck. The CPU is built on the AMD Zen 2 and RDNA 2 architectures.
Step 1: Turn the steam deck on
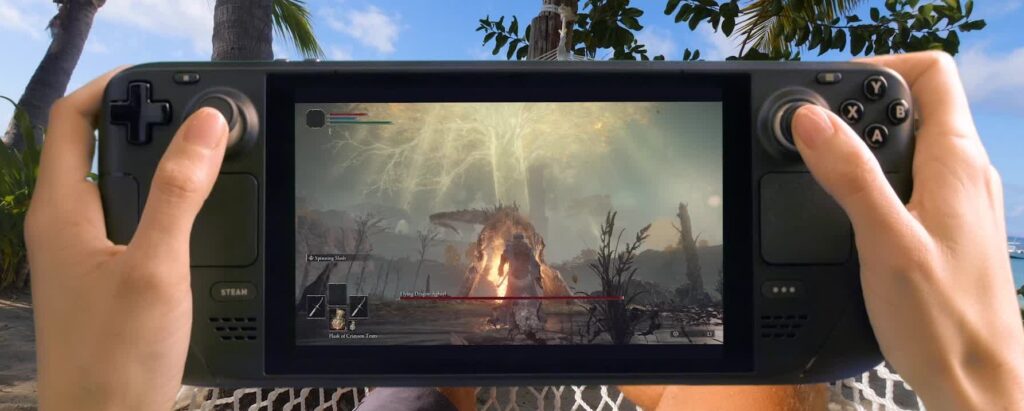
- First, power up your Steam Deck.
- Before making a change, be sure the default settings are correct.
- By tapping the Steam button on the left side of the Deck or the Wi-Fi button in the top bar, you may reach the Settings menu.
- The volume, microphone, screen brightness, controller button mapping, and regional language settings can all be modified from there.
- To extend the life of your battery, disable Adaptive Brightness.
- Make sure you get any necessary software updates before downloading any apps.
step 2 : Set grip buttons
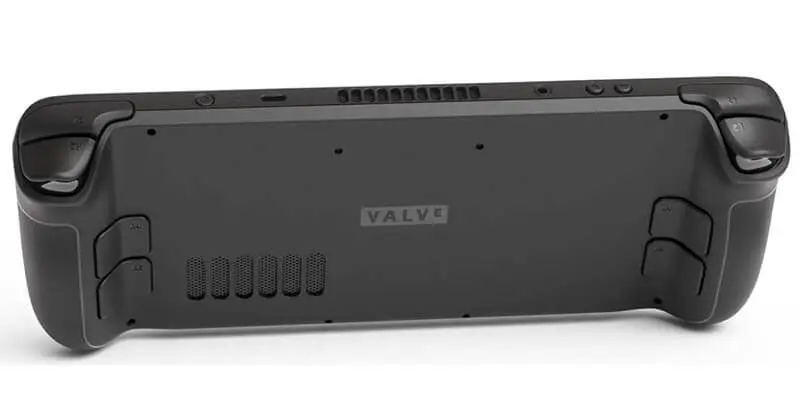
The Steam Deck has shoulder triggers, four alphabetical face buttons, and joysticks, the standard controller set up found on most consoles. The system’s additional four rear buttons, L4, R4, L5, and R5, are situated on the back grips.
The default behaviour of most games isn’t to use these buttons, but the Steam Deck allows you to specifically assign any input to them. In situations where you must transfer commodities quickly, they might dramatically advance your game.
step 3: set your operating system
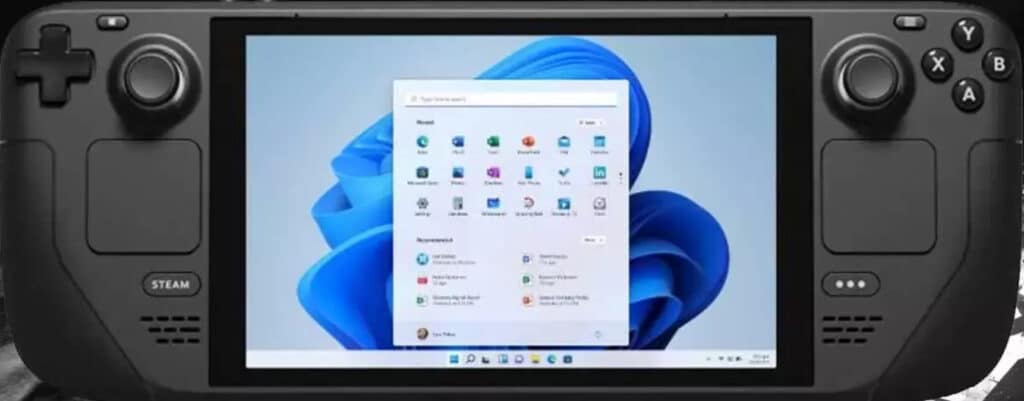
The Steam Deck ships from the manufacturer running Linux and makes use of Proton to support Windows games.
However, the Deck contains a feature called Desktop mode that, when used by pressing and holding the Power button, turns it into a full-fledged PC. You can also set up applications and an operating system like Windows 10 or 11.
A Micro SD card and an SD card reader are first things you’ll need.
Use this article to discover how to install Windows 10 and 11 after getting those components.
To revert to SteamOS gameplay at any moment, simply swap out your Micro SD card.
step 4 : extend and upgrade your internal storage
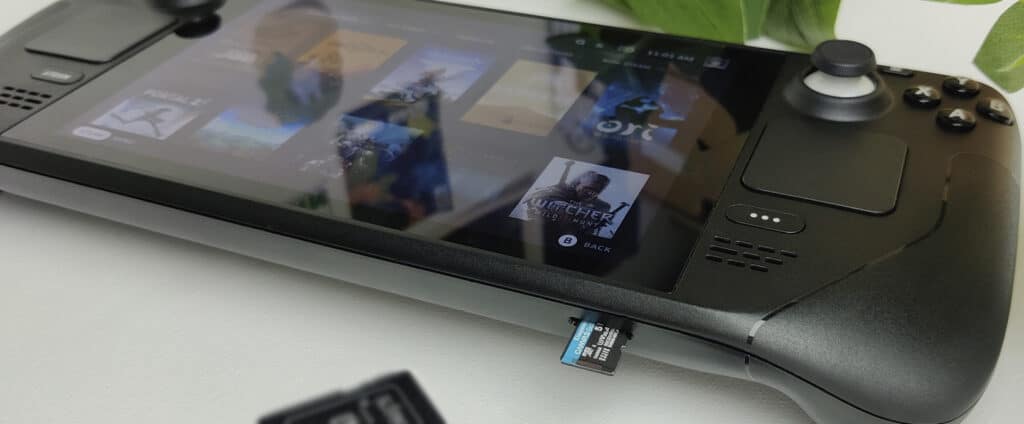
Depending on the model you choose to buy, the Steam Deck’s storage capacity varies. If you select the entry-level model, the system has a 64GB capacity; 256GB for the mid-tier; and 512GB for the top tier.
It’s still possible that you’ll eventually go over those storage limits given the sheer volume of games that are available on Steam. Thankfully, the Steam Deck contains a place for microSD memory cards at the bottom of the gadget. If you want to make sure you always have space for the newest and best releases, getting more storage is a great option.
When a card is purchased and used for the first time, it must be reformatted. Making a card for the Steam Deck entails:
On the left, click the Steam icon.
Select format under System Settings.
By doing this, the card’s remaining data will be deleted.
step 5 : choose the games verified by Steam deck
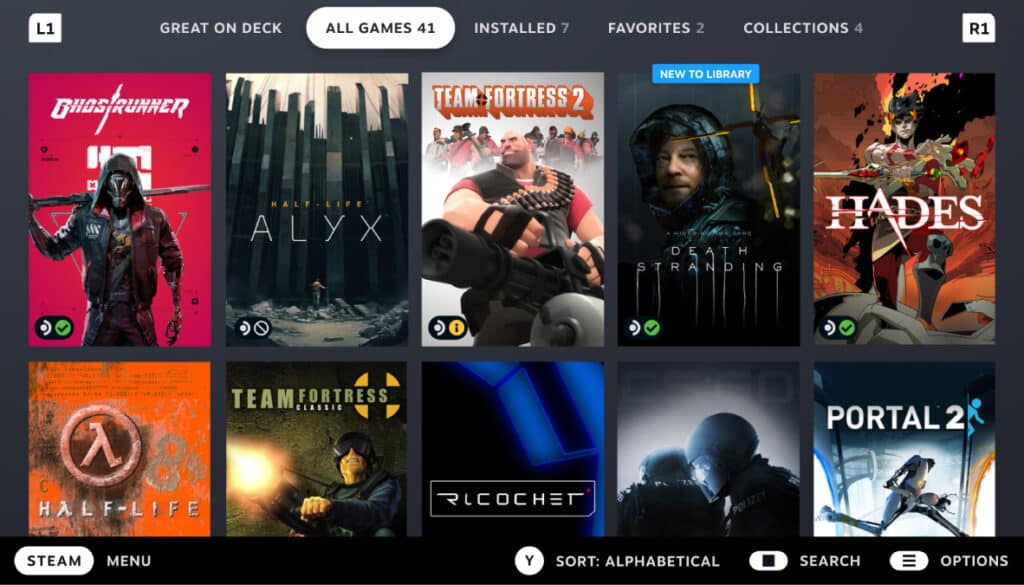
You might have bought a few new games on Steam in preparation of the portable device’s debut so you could play them on your upcoming train or flight. But because of the Steam Deck’s unique physical characteristics, not all Steam titles will run smoothly on it.
Thankfully, Valve certifies games as Deck Verified that they will work on the platform and graciously notes which games are ready to play and which need a little tinkering. It’s a wise decision to double-check your library to prevent any surprises.
step 6: connect it to your system and play it remotely
The Steam Deck and Switch have frequently been compared due to the similarities in the concepts of the two systems. They are comparable because both systems can connect to any screen in your home. Because it accepts DisplayPort and HDMI inputs, Steam Deck supports a variety of connections. If you’re tired of playing your favourite battle royale games on the tiny screen of the Steam Deck, you can instantly connect the Steam Deck to your Monitor and begin shooting.
The Steam Deck is quite powerful for a portable device; remarkably, such a compact computer can play many modern games without any issues. The console is still transportable despite its durability. In order to make it work, some compromises must be made.
This suggests that not everything can be perfectly run by the Steam Deck. But don’t be alarmed! Using the system’s built-in Remote Play function, you can stream games from your PC to the Steam Deck if they don’t already run natively on the hardware.
As long as your Steam Deck and PC are both logged into the same Steam Account and you have a reliable Wi-Fi connection, you can use this method to play any game on the system.
step 7 : install the emulators
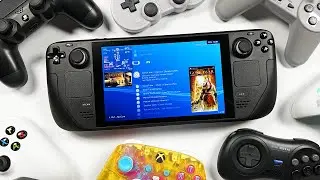
Given its portability and customizable options, the Steam Deck is an absolute emulation beast. Many players desire to use their system to play a variety of old-school and modern PC games. This is when the EmuDeck app comes in handy. EmuDeck is a fairly advanced emulator because it will configure aspect ratios and modifier keys, download the required ROM box art, and integrate all of these features into the Steam library.
You must set up a few things, like downloading your own ancient BIOS files and ROMs and installing standalone emulators from the Steam Deck market. Otherwise, EmuDeck handles a lot of the work for you.
step 8: enable the performance enhancement feature
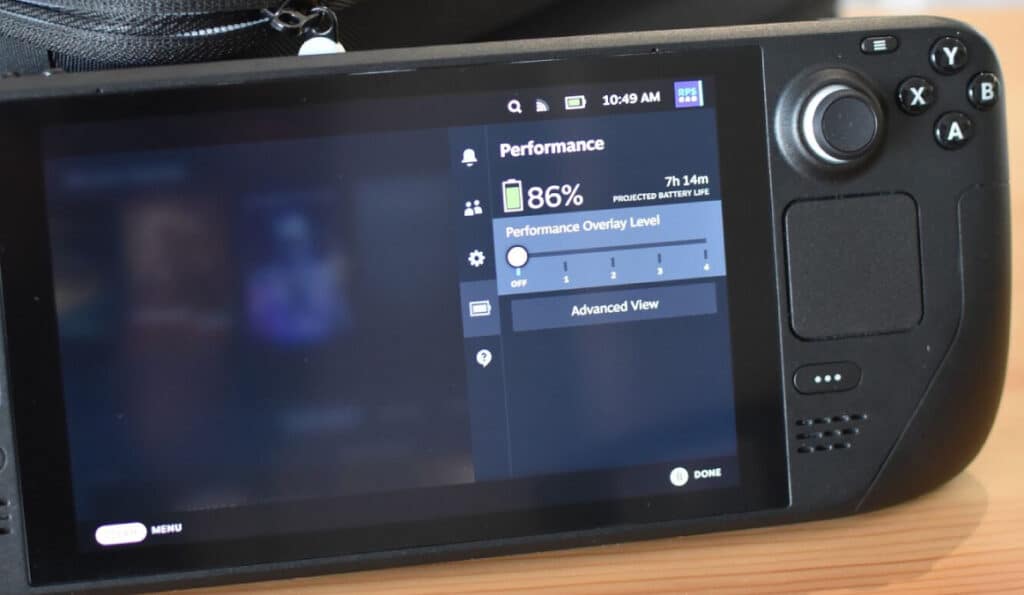
A portable gaming system that doesn’t require a handheld is called the Steam Deck. Playing some games could significantly harm the battery performance and longevity of the device because they weren’t made expressly for it out of the box. The system offers a variety of options for improving performance, though.The Steam Deck enables you to experiment with different brightness settings, set a hard FPS limit to conserve battery life, and even alter visual properties like resolution and detail level. To make the most of your brand-new machine, don’t be afraid to experiment with these different options.
where are the steam deck’s settings?
There are two ways to access your settings on the Steam Deck. Initial is:
On the top bar, click the A button next to the Wi-Fi icon.
The next is:
After choosing Settings and scrolling down, press A.
then click the Steam button located on the Deck’s left side.
By choosing the Quick Options icon on the right side of the Deck, you can get a more condensed settings menu with the three dots on the screen.
Only the screen brightness, microphone volume, and screen brightness may be altered using this menu.
Check the battery life of steam deck
There are two ways to check your battery life on the Steam Deck and an estimate for when it will reach 0%. The first step is:
- Click the Battery symbol in the top navigation bar after scrolling up there.
The next step is:
- To select Quick Settings.
- This will immediately take you to the battery life screen, where you can see the current charge level on the left and the estimated battery life in hours and minutes on the right.
On the Steam Deck, there are two ways to check your battery’s remaining capacity and an indication of when it will run out. The initial action is:
Scroll up to the top navigation bar and click the Battery icon.
What comes next is:
Choosing Quick Settings
This will immediately take you to the battery life screen, where you can view the estimated battery life in hours and minutes and the current charge level on the left.
format the sd card of steam deck
- Go to the Settings menu and select System.
- When you reach “Format SD Card,” scroll down and click it.
- You will be prompted by the Deck to confirm your desire to format your SD card, which will permanently destroy all of its contents.
- When you click Confirm, the button’s text changes to “Formatting… “.
- This could require some time. The button will return to “Format” after it is done without letting you know.
- The SD cards created by the Steam Deck use the ext4 format, which is not the standard SD card format and needs to be formatted before use. This is a crucial distinction to make.
conclusion
The best portable gaming gadget is the recently released Steam Deck. To get the most out of a new Steam Deck that you buy, you must learn enough about configuring and optimizing it. Nearly all games are supported by the Steam Deck, although they must first be Steam validated. Purchasing Steam Deck is an expensive decision. And the proper use to get the maximum value for your money.
You can set up your new Steam Deck even if you have never touched one before thanks to the above-mentioned method.
Your Steam Deck becomes the best portable gaming system in your hand with some storage upgrades and sophisticated settings.
It will function similarly to a portable gaming computer that you may use to play your favourite games.
Read More:
- How To Install Windows 10 and 11 On Steam Deck?
- How To Get Xbox Game Pass On Your Steam Deck?
- Best Steam Deck Accessories make your Setup looks complete!
- Steam Deck-A competitor to the PS5 and Xbox!
- Steam Link: A way to play games on your macOS!


