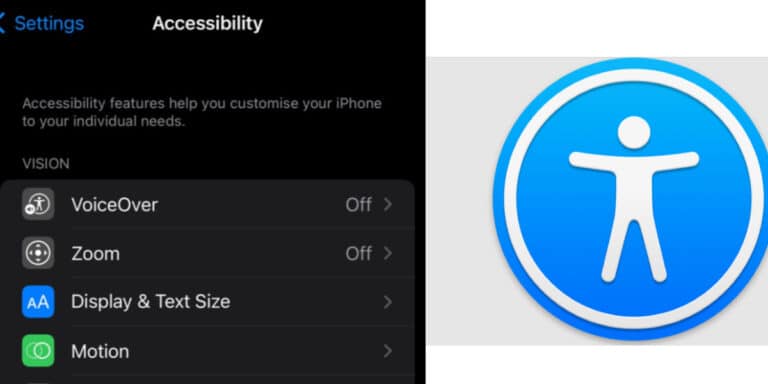
Having the iPhone, iPod touch, and iPad usable by the broadest possible audience is the primary goal of accessibility. This can include persons who are very young, old, and new to using mobile devices and computers and those with special needs or disabilities. The accessibility features in Apple’s iPhone and iPad allow users to have their user experience tailored to their individual needs and preferences.
What will you see here?
How to use the Apple device’s Accessibility panel?
- Open the Settings app on iPhone or iPad.
- Select Accessibility.
Physical and Motor
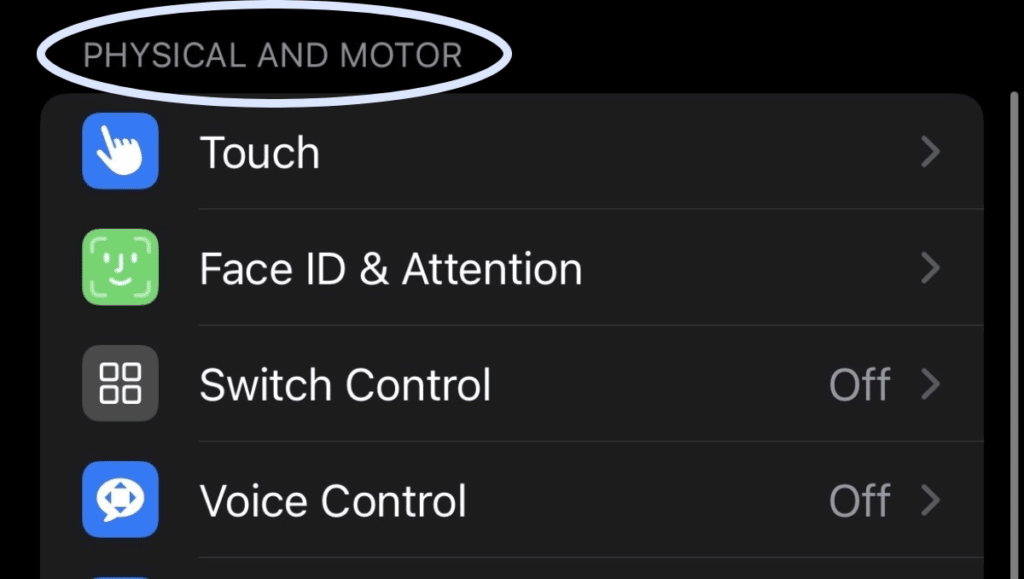
Set the Home or top button’s preferences.
If your iPad has a Home button, you can change the accessibility settings for that button and the top button (on other iPad models).
Tap the Home button (on an iPad with such a Home button) or the Top Button after going to Settings > Accessibility.
Choose one of the following:-
- Select Default, Slow, or Slowest for the click speed necessary to double- or triple-click the button.
- You can decide whether Siri speaks in response if you push and hold the button.
- On an iPad having Touch ID, users may unlock and access the device by keeping their finger on the sensor.
AssistiveTouch
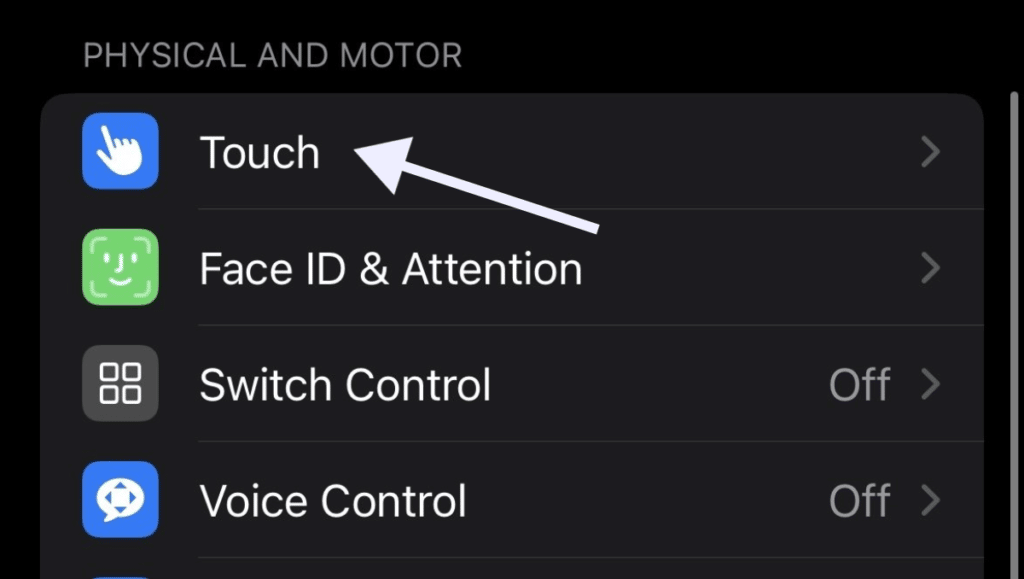
With capabilities to help users who have trouble utilizing a touch screen, touch is the most inclusive category. In addition to providing a practical shortcut to replace tapping the screen, its settings offer improved tactile feedback whenever a toggle is selected. AssistiveTouch, another Touch feature, is frequently used to swap out hardware buttons and mimic on-screen motions for interface navigation.
How to activate AssistiveTouch?
- Open the Settings application.
- Click on Accessibility.
- Tap Touch under Physical and Motor.
- Click AssistiveTouch.
- Enable AssistiveTouch.
Switch Control
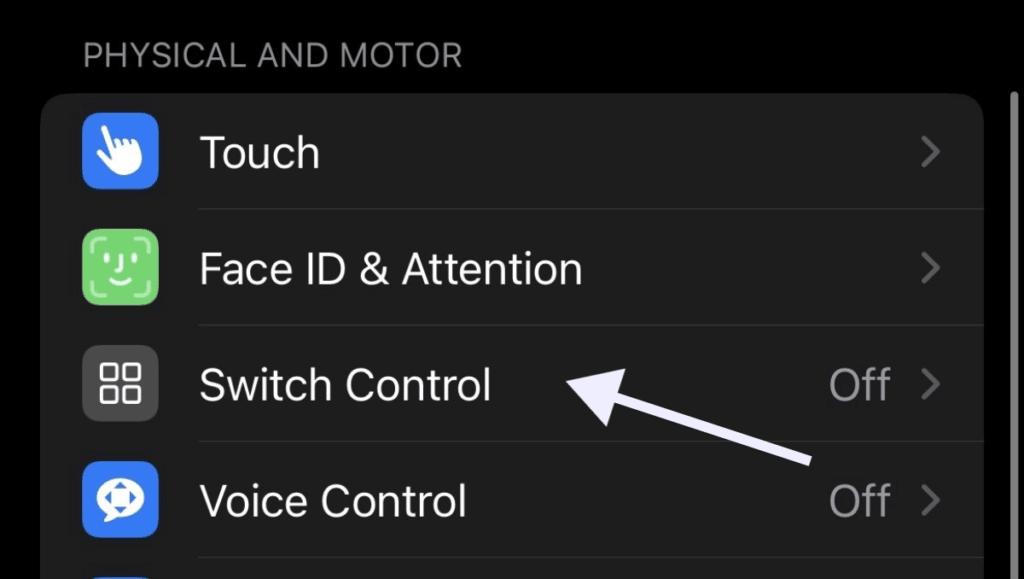
To operate your iPhone or iPad, use a or more switches. If you suffer from physical issues, use Switch Control. You may pick, tap, drag, text, and even create freehand while using buttons. A switch is used to choose an object or area on the screen, while a different switch—or the same switch—is used to select an action.
It is easier to use the stated features by including Face ID & Attention, Side Buttons, and Keyboards.
How to add a switch on iPad?
Connect the external switch to the iPad first, ensuring you follow the switch’s instructions if the switch connects via Bluetooth, couple it with the iPad by turning it on, going to Settings > Bluetooth, turning it on, tapping the switch’s name, and then following the on-screen instructions.
- Accessibility > Switch Control > Switches under Settings.
- Click Add New Switch, then pick one of the options below:
- External: Pick a switch that connects to the iPad’s Lightning connector via Bluetooth or a Built for iPhone (MFi) switch.
- Screen: To turn on the switch, tap the iPad screen.
- Turn your head left or right while looking into the camera.
- Voiced and voiceless noises like “Oo” or pop are acceptable.
3. Assign the switch a function. You must give the Select Item function to at minimum one switch for Switch Control to work correctly.
Vision
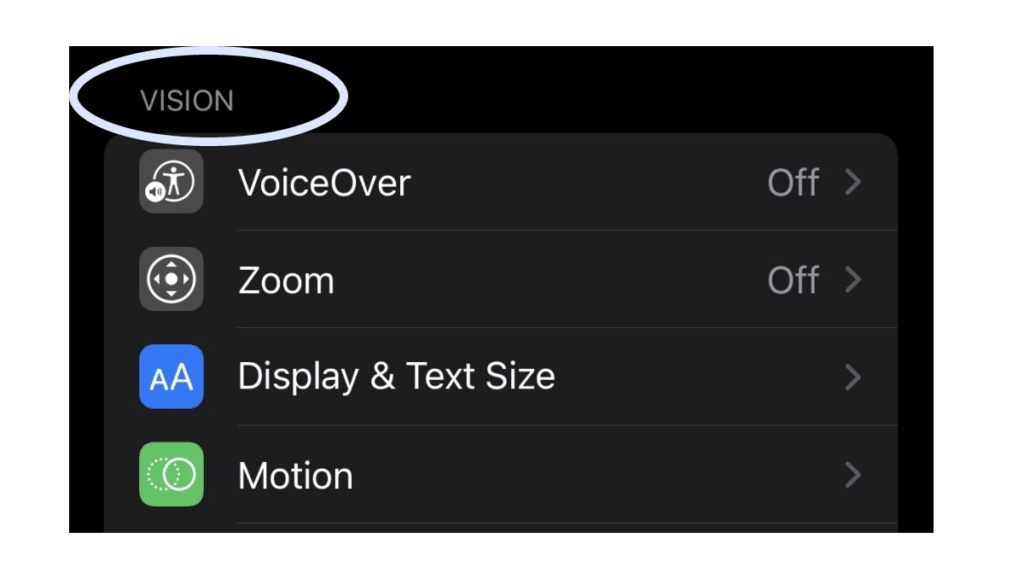
Motion sensitivities
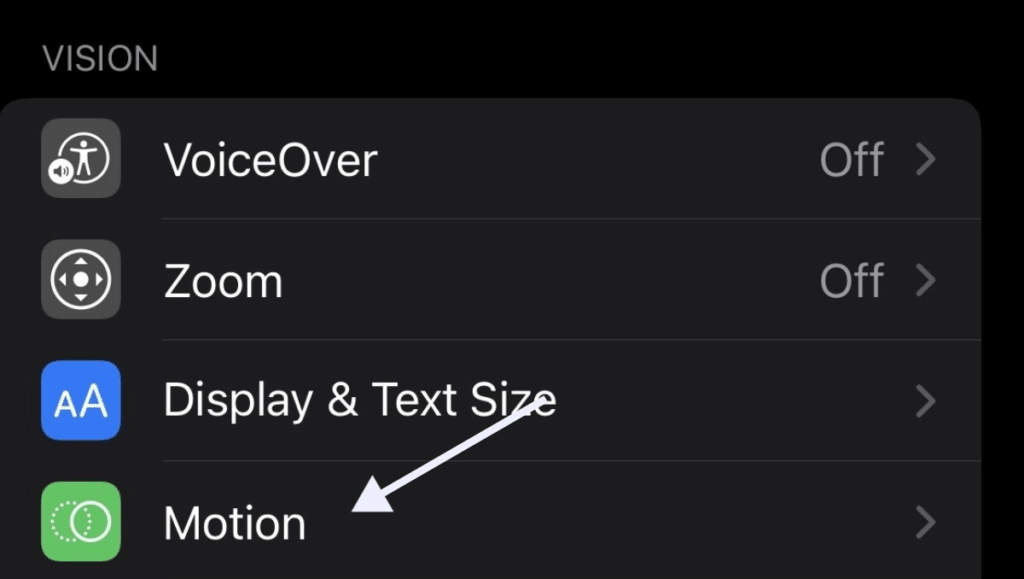
In addition, Motion lessens the amount of animation in the interface to provide a more pleasant visual experience, especially for individuals who find animations confusing.
If you’re sensitive to motion effects or display movements on the iPad, you can halt or slow down various screen features, like:
- Wallpaper, applications, and notifications’ parallax effects
- A change in the screen
- Animated Siri
- Autocomplete for typing
- Animated messages effects
How to cut back on animations in iPadOS and iOS?
- Run the Settings application.
- Click on Accessibility.
- Tap Motion under Vision.
- Activate Reduce Motion.
VoiceOver
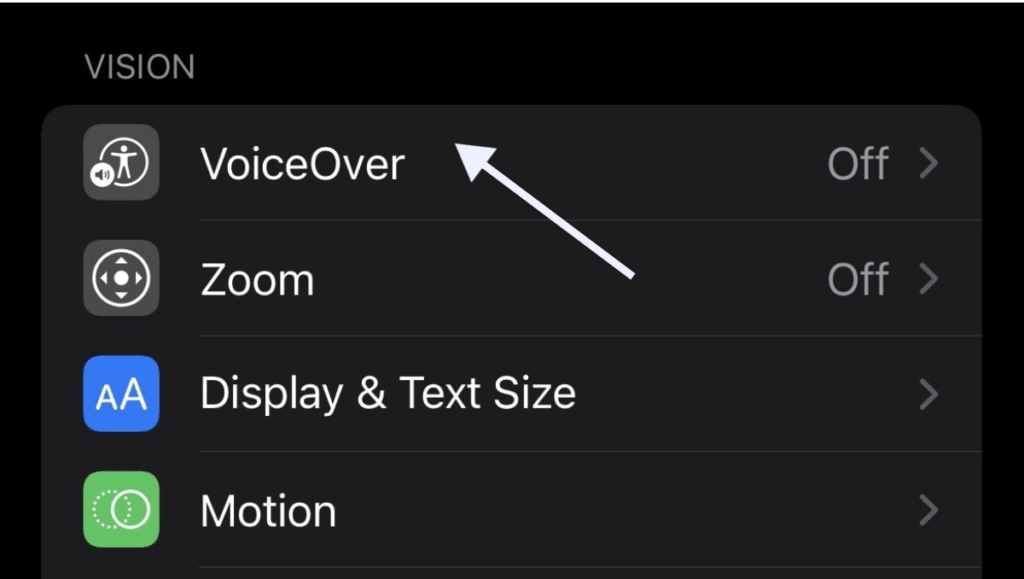
A voiceOver reads out the information on your screen, such as the battery level, who is calling, and which application your finger is now in, in auditory form. You can also change the speech pitch and tempo to fit your demands.
How to turn VoiceOver on or off?
Any of the following techniques can be used to switch VoiceOver on or off:
- Say “Turn on VoiceOver” or “Turn off VoiceOver” to Siri after activating it.
- Make three clicks on the Home button (on an iPad with a Home button).
- Triple-click the top button
- Activate Control Center.
- Toggle the option on or off by going to Settings > Accessibility > VoiceOver.
Display & Text Size
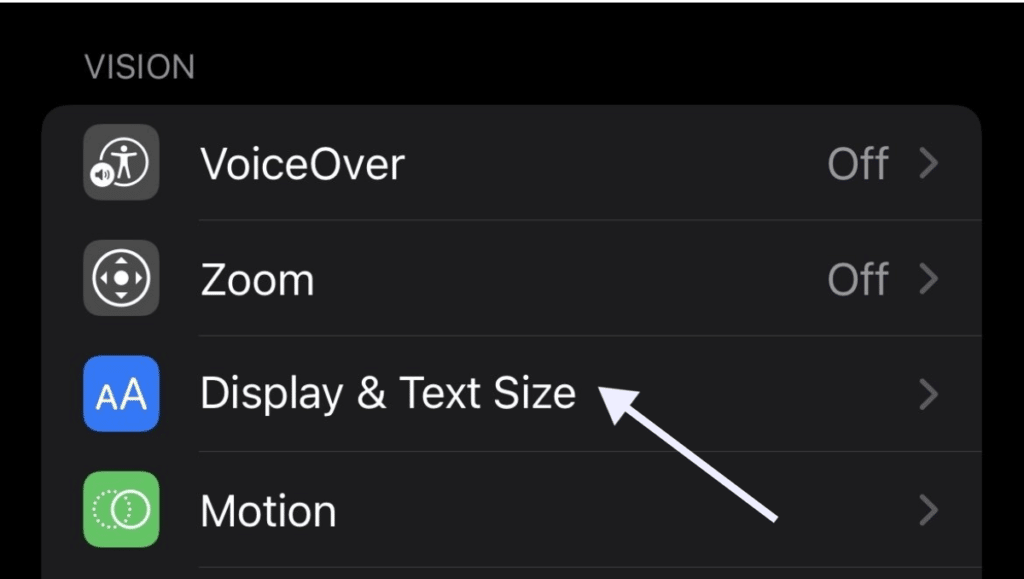
To facilitate navigation without degrading the interface, Display and Text Size increases the legibility of the text, buttons, and interface elements, including icons.
How to go to the options for text and display size?
- Open the Settings app.
- Click on Accessibility.
- Select Display & Text Size from Vision.
- Turn options on and off as necessary.
General
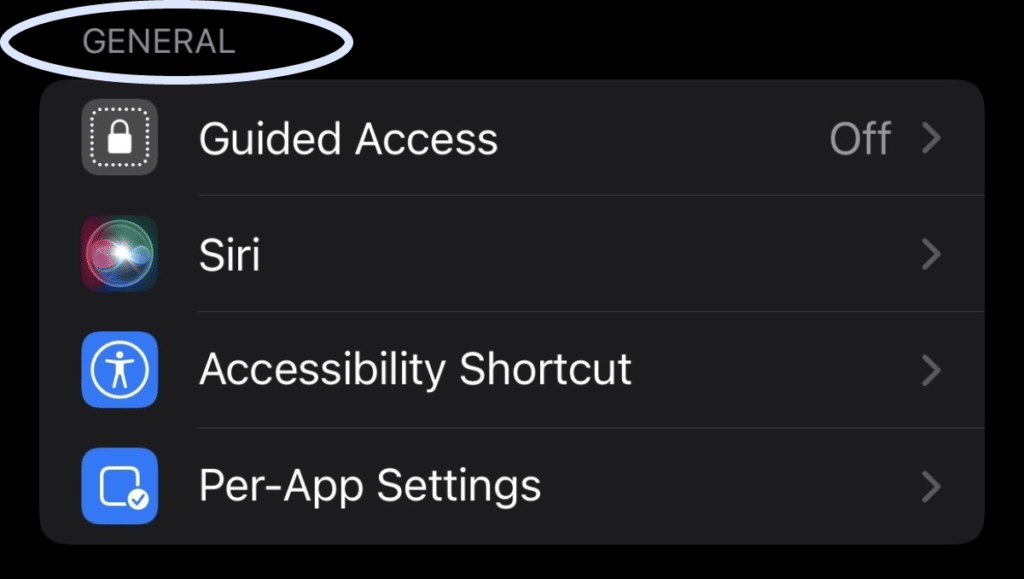
Siri
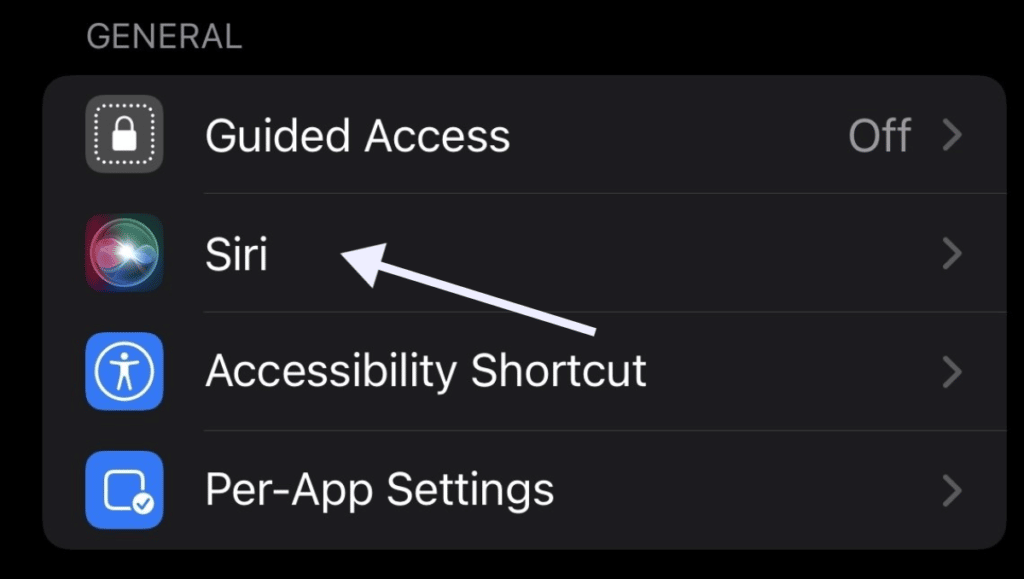
One of Apple’s most significant accessibility features on iPhone and iPad, Siri, is the brand name of its digital assistant. This is so that you may utilize Siri, a voice control system with a personality right out of a Pixar film, to chat back to you, grasp relationships, and provide context.
How to control voice feedback for Siri?
- Navigate to Settings > Accessibility > Siri.
- Select Never Speak during Silent Mode, Always Speak When Hey Siri Is Present, or Always Speak Reactions.
Guided Access
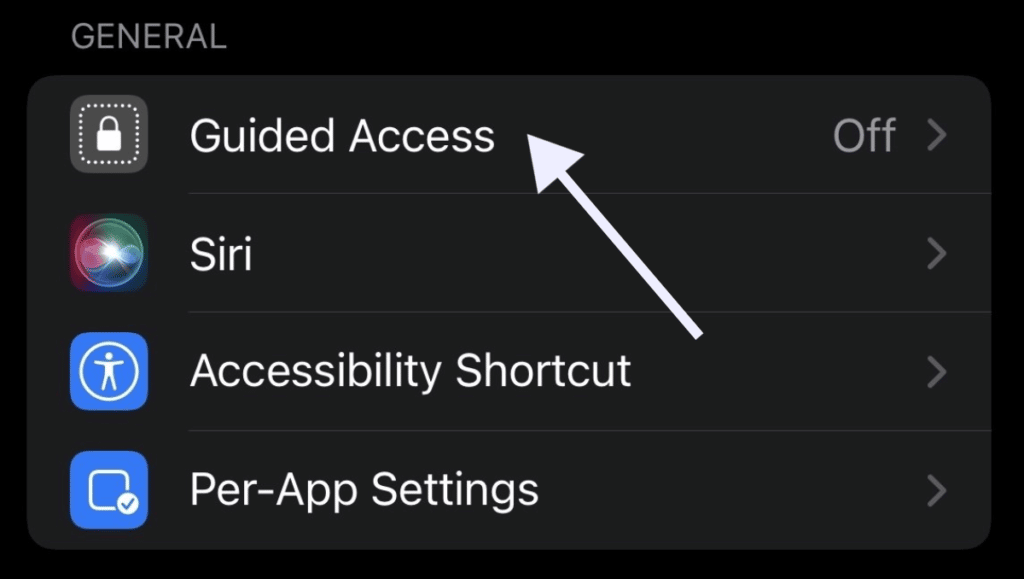
A user can’t exit an app with guided access. It is helpful as a learning tool to prevent unintentional access to information outside the curriculum or for people who need assistance keeping their focus on a particular job.
How to set up Guided Access?
- Turn on Guided Access by going to Settings > Accessibility > Guided Access.
- Make any necessary adjustments to:
- Set your passcode by tapping Set Guided Access Passcode and then entering it.
- To end a Guided Access session, you can activate Face ID or Touch ID.
- Play a sound or say the amount of time left in a guided access session.
- Accessibility Shortcut: During Guided Access sessions, you can toggle the shortcut on or off.
- Set the time the iPad needs to be locked automatically throughout a guided access session using the display auto-lock feature.
Accessibility shortcuts
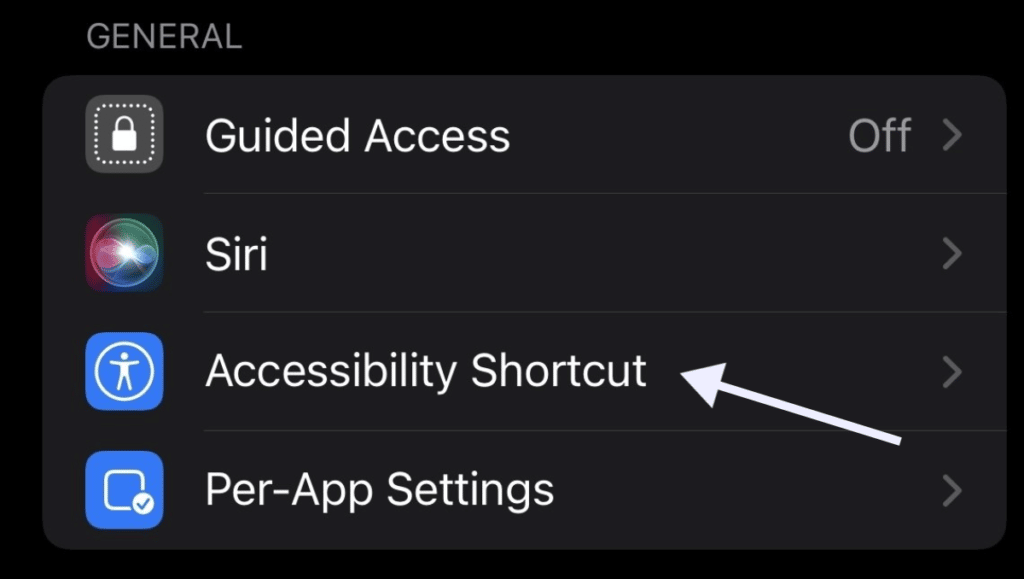
When using the Side Button’s triple-click shortcut, the Accessibility Shortcut inserts an accessibility feature on iPhone and iPad.
Setup Instructions for an Accessibility Shortcut:-
- Open the Settings app.
- Click on Accessibility.
- Tap Accessibility Shortcut under General.
- Choose the accessibility setting that you want to activate the shortcut for.
- Press the Side Button three times when you urgently need to activate that specific accessibility feature.
Hearing
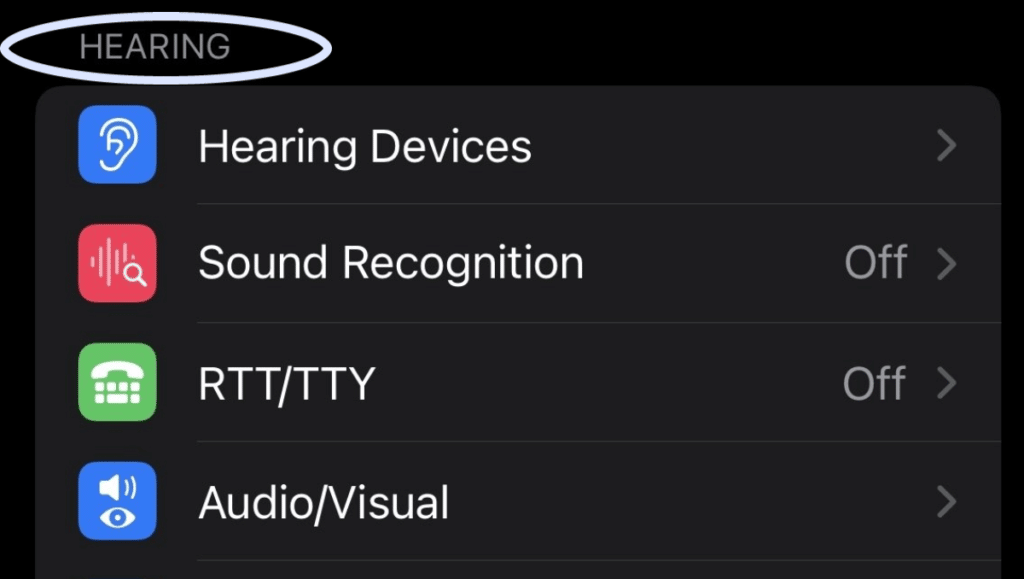
Hearing devices
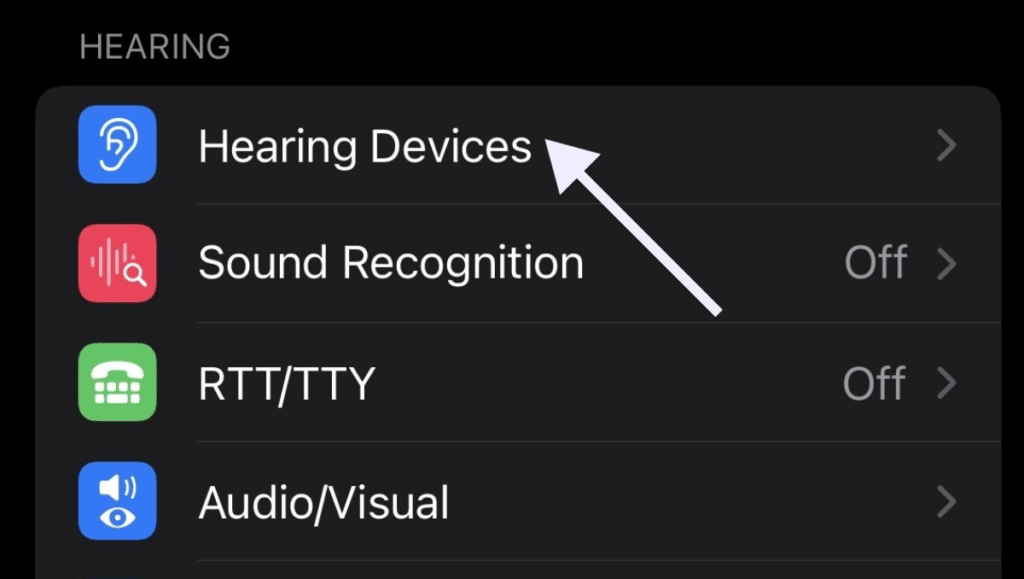
Users who are hard of hearing or deaf can benefit from hearing devices by connecting their device to Designed for iPhone hearing aids.
How to pair a hearing device with an iPad?
You must pair your hearing aids with an iPad if they aren’t already listed under Settings > Accessibility > Hearing Devices.
- Make sure your hearing aids’ battery doors are open.
- Toggle Bluetooth on by going to Settings > Bluetooth on an iPad.
- Accessibility > Hearing Devices under Settings
- Your hearing aids’ battery doors should be closed.
- Their names might take a while to display below MFi Hearing Devices. Once they do, tap the names to accept the pairing requests.
Your hearing aids will always reconnect to your iPad as soon as they switch on.
RTT/TTY
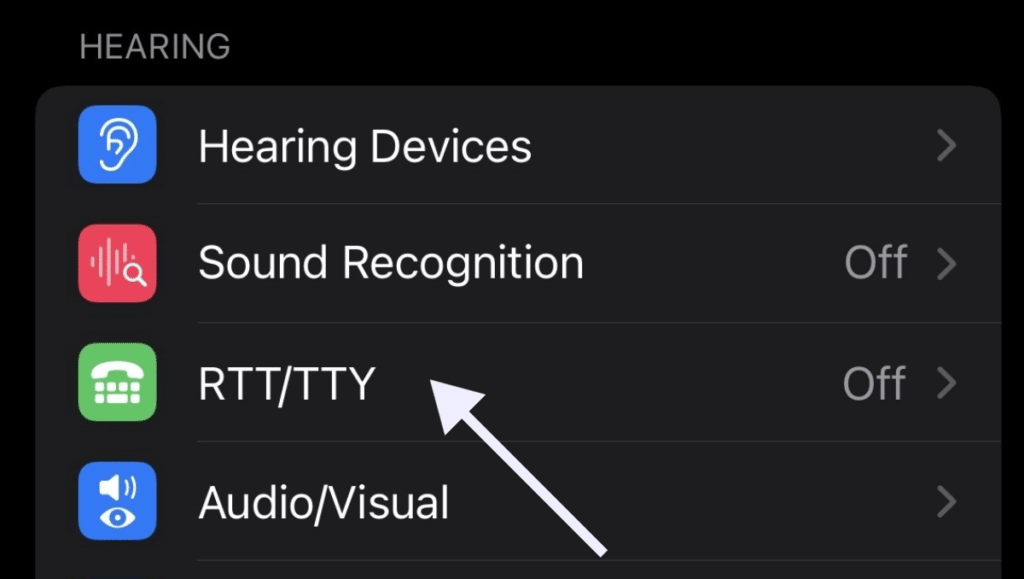
RTT/TTY converts phone calls into Braille text and specific display equipment.
How to set up RTT?
- Check to see if your iPad can place and receive Wi-Fi calls.
- To access RTT, go to Settings > Accessibility.
- Activate Software RTT, then choose from the options below.
- To utilize a phone number for relay calls with Software RTT/TTY, tap Relay Number and input it.
- Activate Send As you type, each character is sent instantly. Turn off message completion before sending.
The RTT icon can be found in the status bar just at the top of the screen when RTT is activated.
Sound recognition
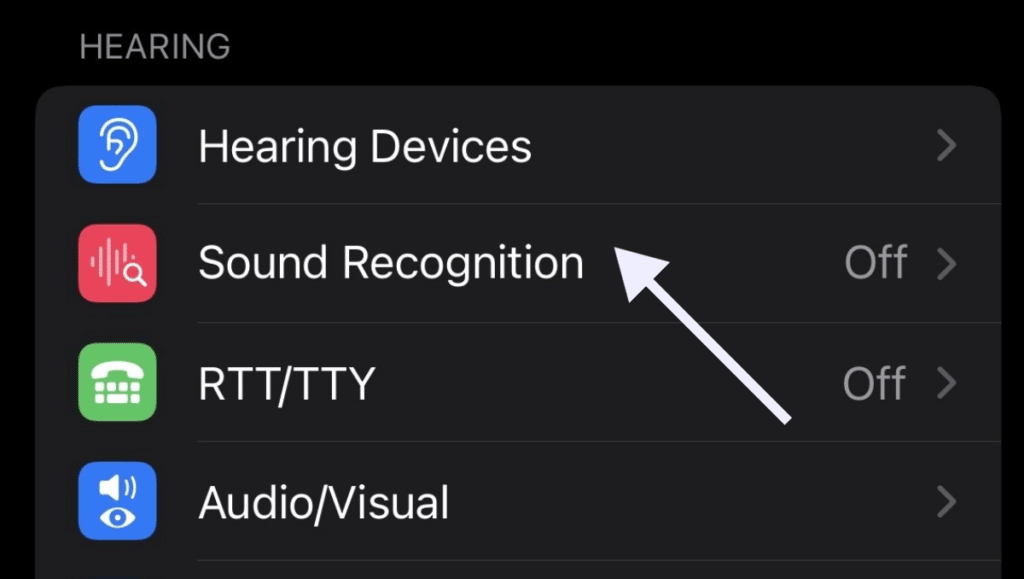
Using your device’s microphone, Sound Recognition continuously listens and identifies common noises.
How to set up Sound Recognition?
- Turn on Sound Recognition by going to Settings > Accessibility > Sound Recognition.
- Turn on the noises you wish the iPad to detect by tapping Sounds and then on.
Conclusion
Apple products are renowned for having various accessibility features that make it simple for individuals with impairments to use them. Voice Control, AssistiveTouch, and VoiceOver are examples of this. Apple, however, has included a new category in its iOS Tips app that highlights particular aspects that every user can activate to enhance their interaction using iPad and iPhone devices to raise awareness of accessibility features.
Many of these features available have numerous sub-features and sub-sub-features that you can fiddle with as you explore them. There is a reasonable probability that the iPhone can meet your accessibility demands. Thus, accessibility features make operating and using your iPad and iPhone easier.


