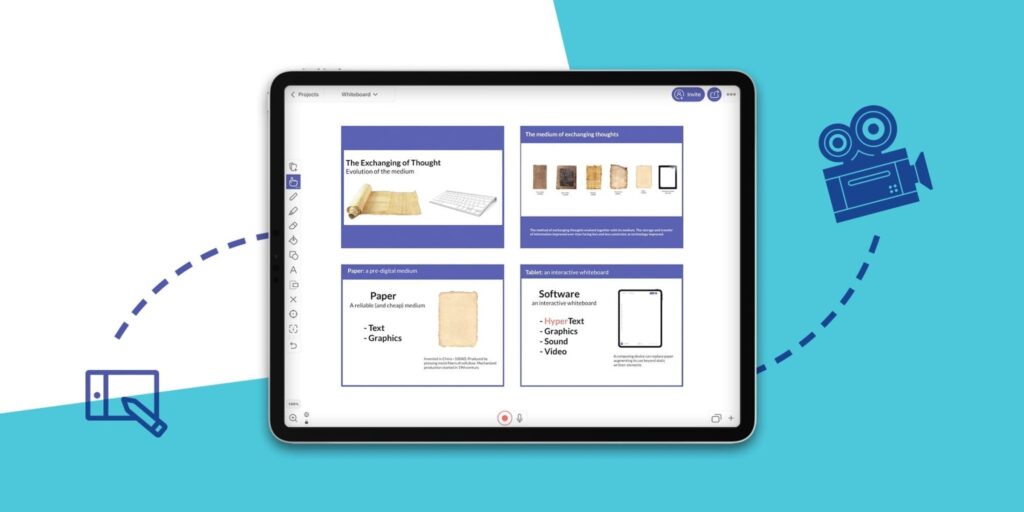
Many of us now have a large collection of images in our collections as a result of the amazing camera quality on current smartphones. While it is simple to share many photographs on social media. One interesting option is to turn pictures into videos. This is how you do it.
What you will see here?
Collect all photos into one location
Before you begin filming, collect all of the photographs you plan to use in one location. Normally, these would be placed in your general photo library. But to save time, create a new folder on your desktop and then browse through the library, copying the correct ones to the folder.
Choose and set up your video editing software to turn pictures into videos
Once you’ve chosen an editor (recommendation: use the Microsoft Video Editor, which comes with Windows 10 and works in the Photos app), download and install it on your PC/Mac. Then, launch it and start a new project.
Typically, all of your photos and videos will be stored in the upper left corner. It’s called Project library in Video Editor. And it’ll be something similar in most others. It will be empty for the time being. So use the add or import options to bring the ones placed in the freshly formed folder on your desktop.
Arrange the photos on your timeline
A timeline is something that video editors use. This is the small layer of text at the bottom of the screen. Images and video are moved into this area and then shown in your movie. The goal is to drag them in the order you want them to play, resulting in a timeline that will be played. Similar to a slideshow clip.
After you’ve added a few photos to the timeline, try watching them in the other panel (top right corner of the screen) by clicking the Play button. This will give you a sense of how long each picture stays on screen and how they seem while changing between them.
If they’re moving too quickly, click on the picture in the timeline. Then click and hold the corner and slide it to the right to make the box bigger. This means it will stay on the screen for a longer period of time. Some editors (such as the Video Editor) have a different technique, in which you highlight the image. And then click the Duration button and input the number of seconds needed.
Add titles, transitions, and music, or turn pictures into videos

Once all of the photos are in position and you’re satisfied with the movement of the film, it’s time to add some shine. First and obviously, you’ll need titles. These may be as basic as a text message on a blank screen. That says ” Wedding memories” at the beginning. Or you could even add chapter markers at different times in the movie to highlight particular groups of photos.
It is very simple to include them. Simply look for something that says Add Title or something like that. This will then insert one, generally to the left of the image you are presently seeing on your timeline. If it displays in the wrong location, just drag it to the correct one.
Depending on your editor, you’ll need to go to the title page and then find the Text option to add your messages. This gives you a few basic styles to brighten up the text as well as options for where they are shown on the screen in Video Editor. Play around with the layout and design until you’re happy. If the mood hits, these may easily be modified later.
The next step is to have some changes. These are little animations that happen while switching from one image to another, similar to those found in PowerPoint and other slide presentation apps. Some editors, like Video Editor, don’t have this capability. But if yours does, it’s as simple as selecting the space between two photos and adding the transition from the menu. There are a few simple options, such as sliding the next image from the right or deleting the current image to show the next one below. But the less complicated ones provide a more finished look.
Finally, you should add some music to make the whole thing run smoothly. Some packages will offer royalty-free background tracks that you may use. But you can also use a music file from your personal collection if you want.
How do I make pictures into a video for free?
Animoto is a simple method to convert photographs into videos with stylish text and transitions, as well as licensed music for every event. Simply drag and drop your photos into our online filmmaking software to swiftly arrange them to tell your tale. In minutes, you can create a beautiful video by dragging and dropping.
What is the best app to turn pictures into a video?
Pixgram. This is one of the most user-friendly programs for converting images into movies. Create a stunning presentation in three simple steps: choose photographs, apply effects, and add music.
What is the easiest slideshow Maker?
Movavi Slideshow Maker is first on our list. This program is the simplest way to create a beautiful presentation from photos or videos and add music. Its user-friendly design allows you to use a wide range of editing tools as well as over 150 effects and filters.
Conclusion
We look at how to use your gadget or laptop to create a video with photos. There are several methods for converting images to movies, and you may only need a basic free copy to get started. Converting a picture to a video might be handy for building a slideshow or material for YouTube and other video apps. Some gadgets even have a photo movie creator that you can utilize with your photos.
Read more
- Facebook-Everything you need to know!
- How to use Facebook like a pro !
- Use the Photos App to assign contacts, for slideshows, setting Wallpaper and more!
- Using Memories in the Photos app on your iOS device!
- Wondershare Filmora9 offers trimming, transitions along with effects!


